You can integrate Worksuite to 1000's of apps with Zapier!
Build automations between Worksuite and your accounting/payments software, project management systems, and productivity platforms to make your processes smoother and more efficient!
Case study: Learn how one company cut their international payroll processing time from 3 days to 3 hours with Worksuite self-service integrations!
TABLE OF CONTENTS
How it works
Zapier is a tool that allows you to move your data between your web apps automatically. You can customize the actions based on specific triggers within one of the apps. If you are not familiar with the Zapier platform, be sure to explore how it works on the Zapier website.
Note: Zap update times vary based on Zapier plan. The Free plan currently has a 15 minute update time.
Your integrations can go two directions:
- Inbound to Worksuite from the other software
- Outbound from Worksuite to the other software.
Establishing your Zapier account
This is the first step to building automations with Worksuite. Follow below to get started:
- You will need to register with Zapier to connect with thousands of different apps.
- Once you create your account, use this link to add the Worksuite app to your Zapier account.
When prompted for the Worksuite URL, follow the pattern in the description, <customer>.worksuite.com where customer is your account name. Do not include "https://" or "http://".
Creating the connection
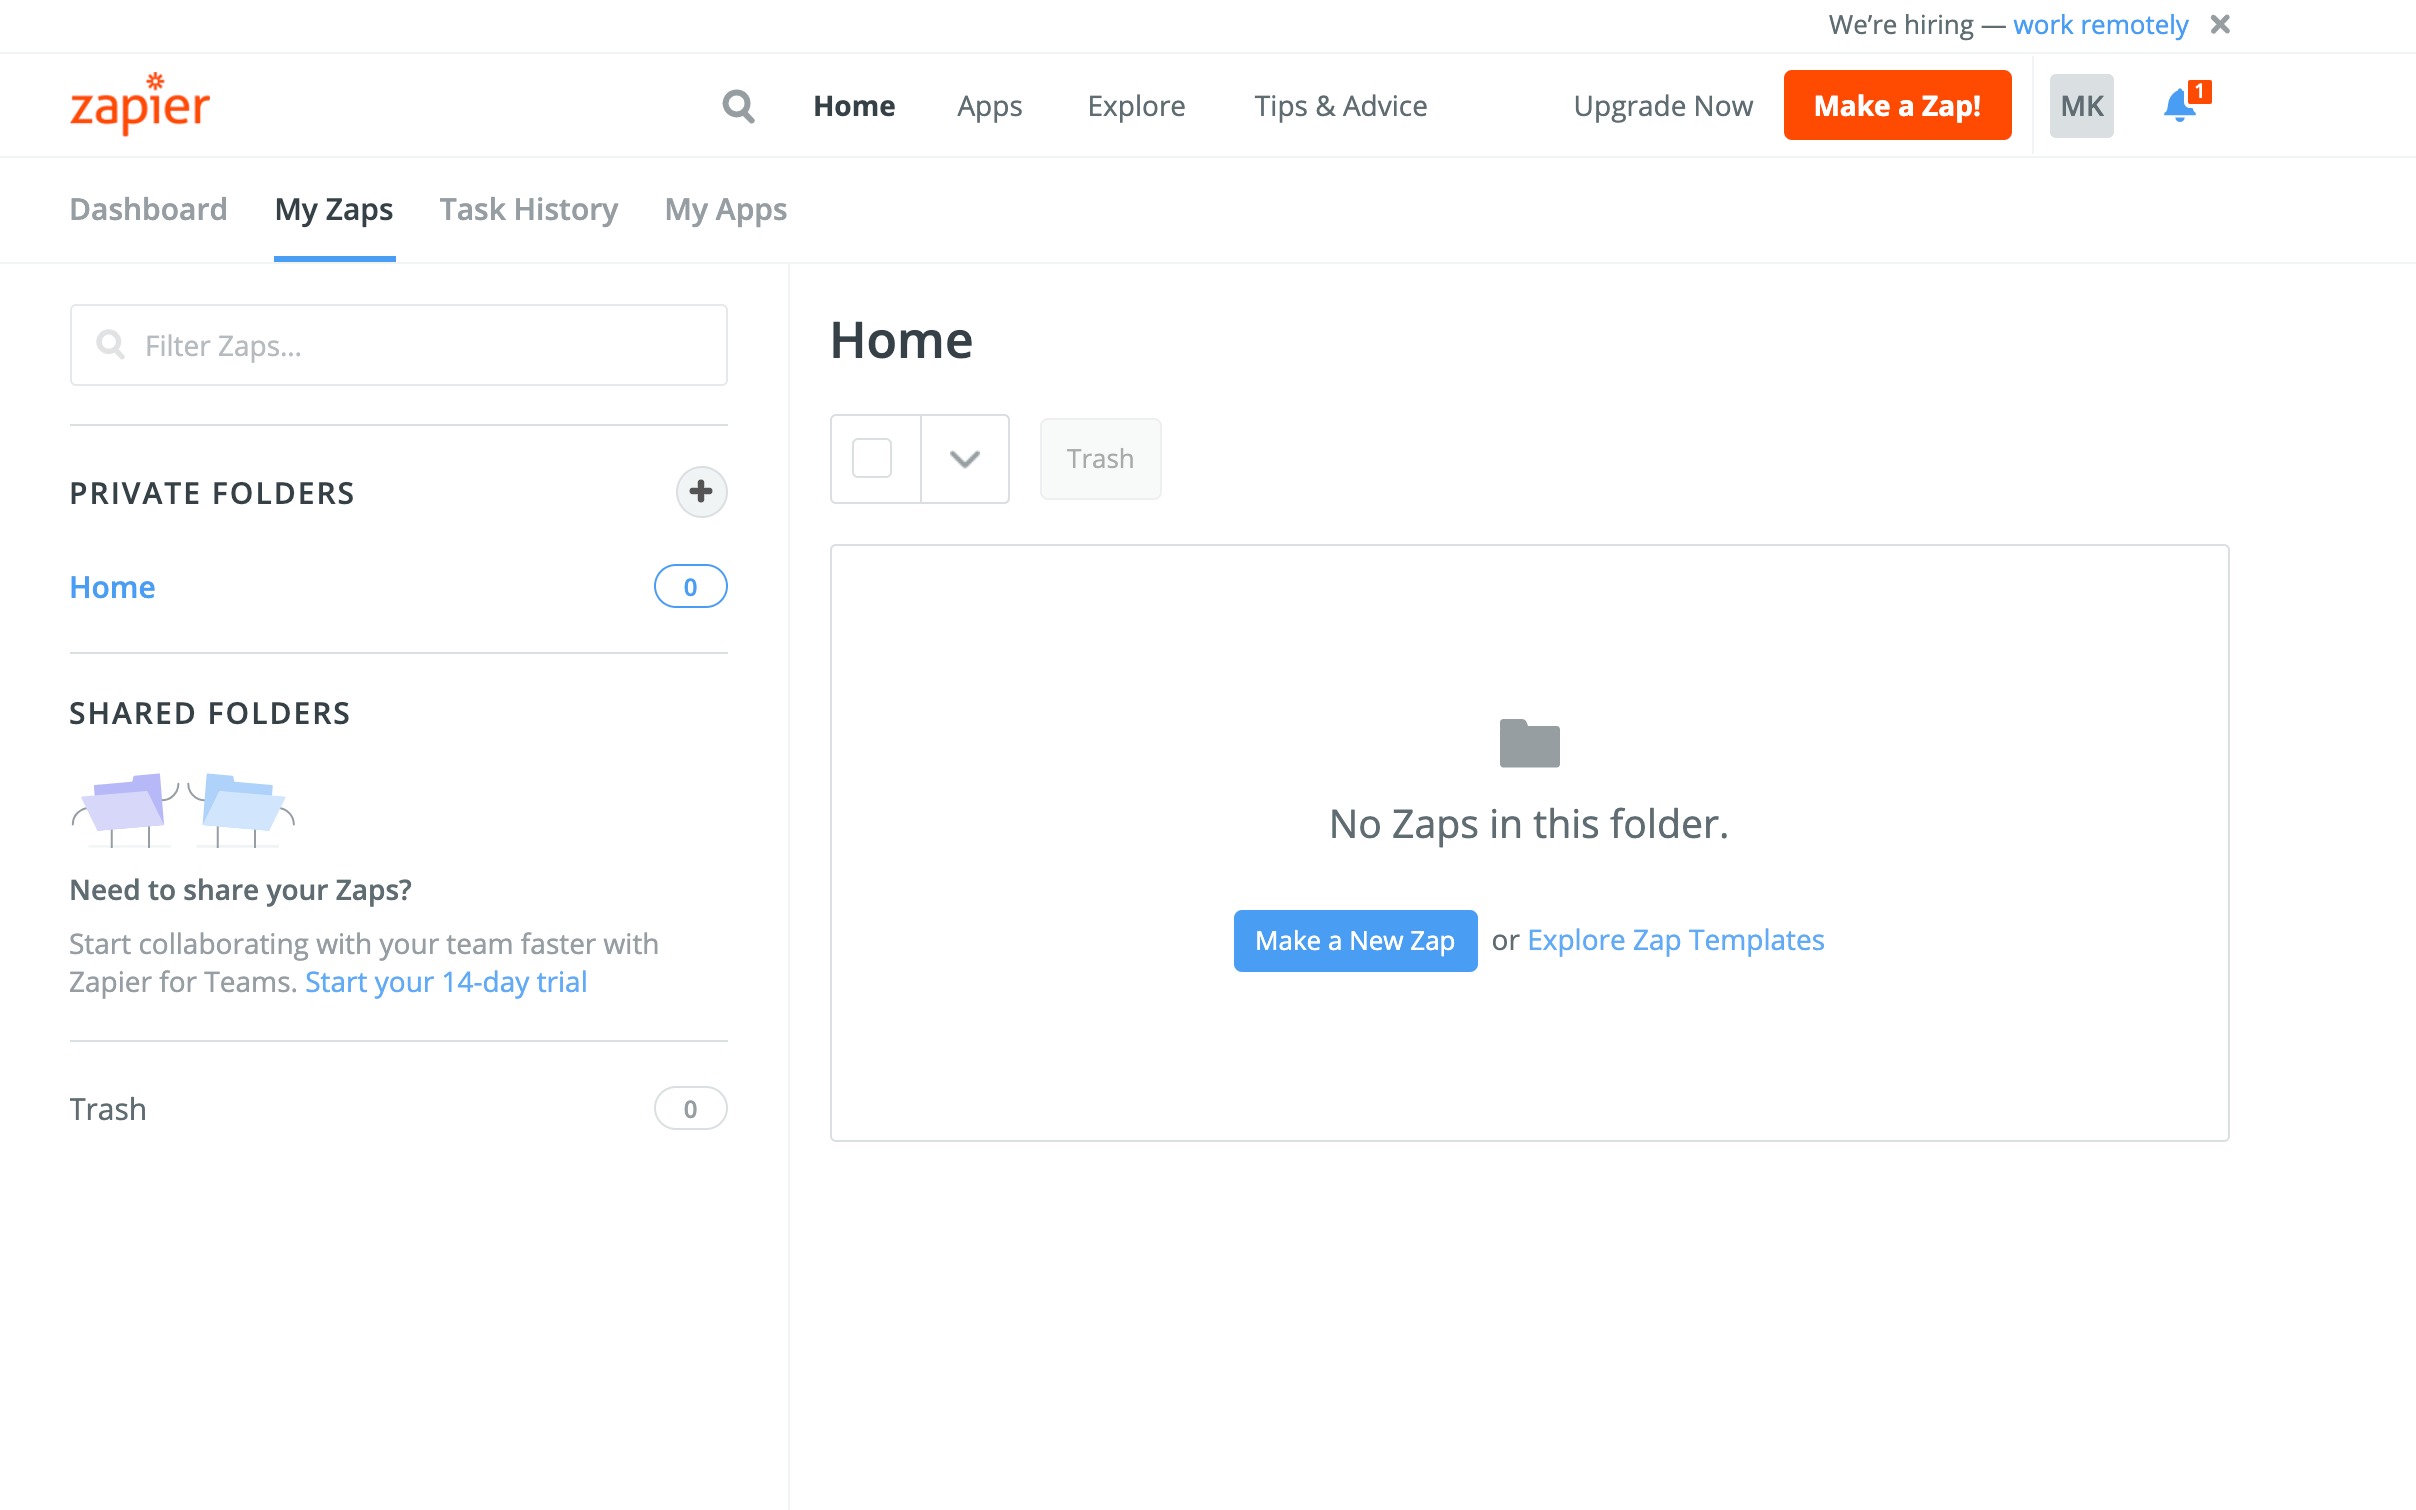
A "Zap" is what Zapier calls the connection being made between two apps.How to create a new Zap
You will have an opportunity to test your Zap and verify that the results are accurate.- You should see the following screen. Click "Make a Zap!"

1. Configure connection with the source Account
- From the app list, select Source App. The App you select will depend on whether the data is moved from Worksuite to another or from another platform to Worksuite. Where the data begins is called the Source.
2. Choose the trigger event
- As seen in the image below, you will be provided a dropdown menu of available triggers that will appear. This tells Zapier what action in the source app should trigger the action in the destination app.

3. Select your destination app
- Use the dropdown menu to select the appropriate destination app. The destination app is where the data is being sent.

4. Select the destination action event
- As in previous steps, you will be provided with a dropdown menu of events to choose from

5. Click Test & Review
- A sample of your data will be pulled to verify the correct setup

6. Pushing your Zap live
- Once you have verified the zap is configured correctly, the last step is to turn your Zap ON
7. Pat yourself on the back - you created your first Zap!

Support/Resources
Have questions about Zapier?
Click the Support button in the bottom left to contact our amazing Support team or reach out to support@worksuite.com
